
Introduction: Greetings, DIY enthusiasts! Today, I’m diving into a common household dilemma – a cracked glass cooker hob. Instead of shelling out for a pricey replacement, I’ve taken matters into my own hands to tackle this repair. Join me as I walk you through the step-by-step process of replacing a cracked glass cooker top, saving both time and money along the way.

Assessing the Situation: As a landlord, maintaining my rental properties is essential. Recently, I encountered a cracked glass cooker hob in one of my units. After receiving a costly quote for professional replacement, I opted to tackle the repair myself. Armed with determination and a new glass top, I set out to restore functionality to the cooker.

Step One: Isolate the Power Safety is paramount when working with electrical appliances. Before beginning any work, I ensured to isolate the power to the cooker. This involved switching off the cooker at the mains and confirming the power was off before proceeding further.
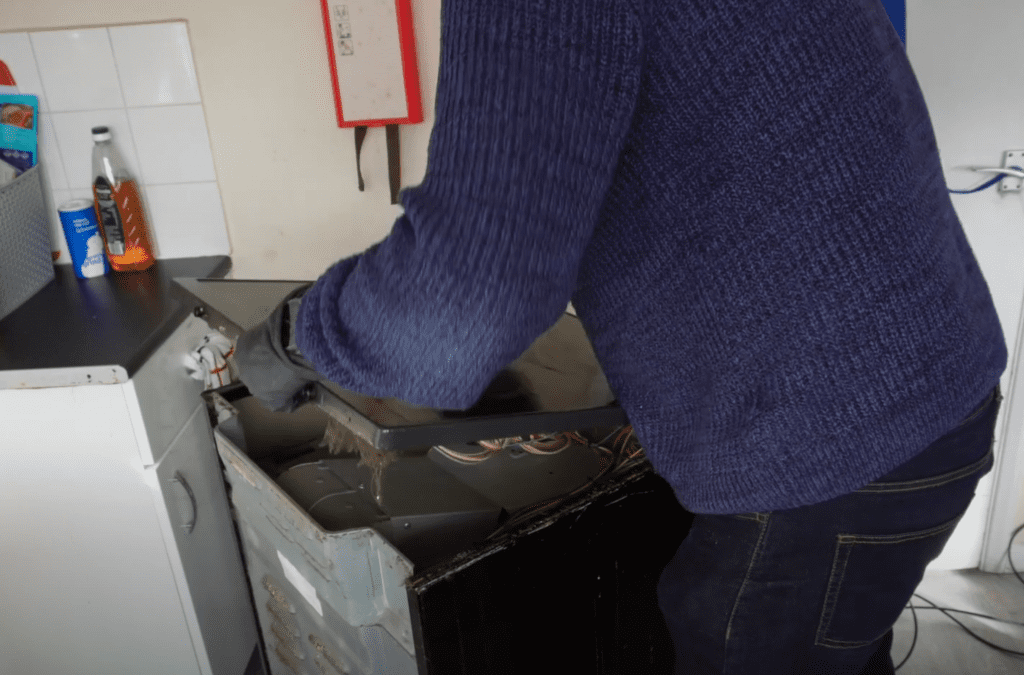
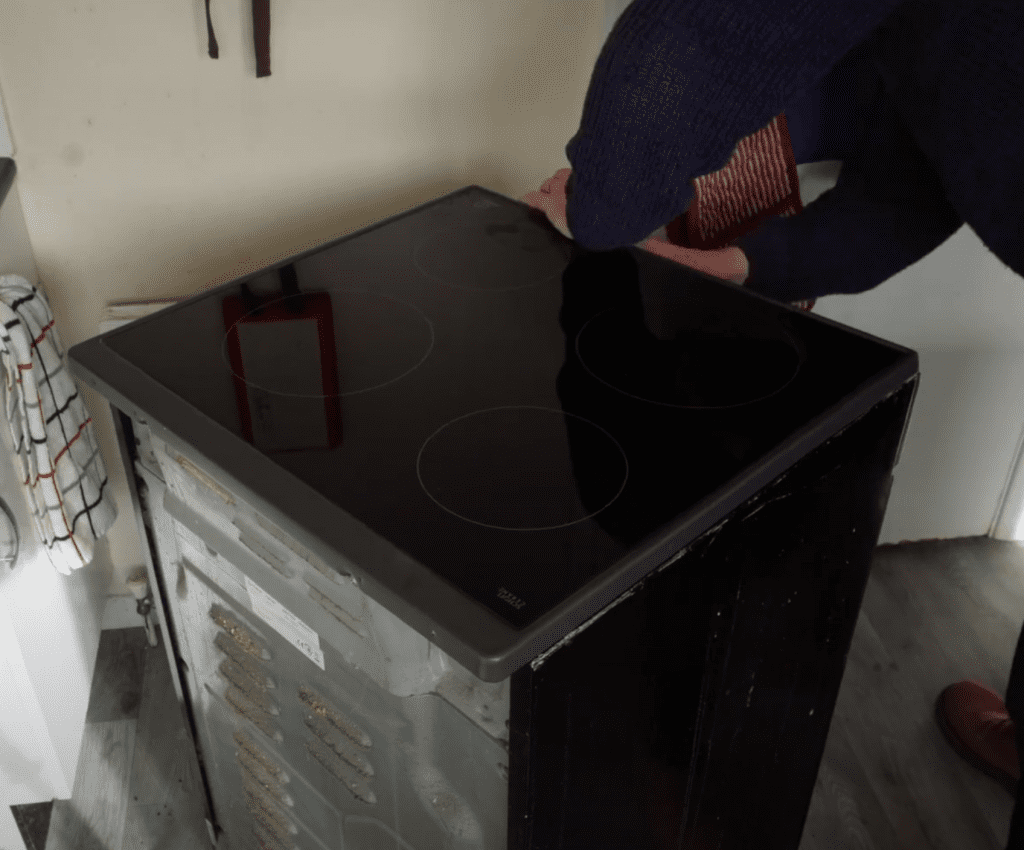
Step Two: Removing the Top With the power safely isolated, I carefully pulled the cooker out from its position to gain access to the glass top. The top was secured in place by four screws – two at the back and two hidden beneath the front panel. Initially, I attempted to remove only the back screws, but soon discovered the necessity of removing the front panel to access the remaining screws.

Step Three: Transferring Components Once the top was removed, I encountered another challenge – transferring the heating rings from the old glass top to the new one. Aligning the rings proved trickier than anticipated, requiring careful observation and alignment against the light to ensure a perfect fit.

Step Four: Reassembly After successfully transferring the heating rings, I reattached them to the new glass top and plugged in any disconnected cables. With everything in place, I reattached the top, securing it with the four screws and replacing the front panel. Finally, I slid the cooker back into its original position, completing the installation.
Conclusion: In conclusion, tackling a cracked glass cooker hob may seem daunting, but with the right approach, it’s entirely feasible to handle it yourself. By following these steps and exercising caution, you can save significant costs and restore functionality to your cooker in no time.
Stay Connected: If you found this DIY repair guide helpful, be sure to give it a thumbs up and subscribe for more informative content. Remember, with a bit of DIY spirit, you can conquer any household repair challenge. Until next time, happy fixing!