
Introduction: Greetings, DIY enthusiasts! Today, I’m excited to share with you a comprehensive tutorial on installing downlighters in your ceiling. With the right tools and techniques, this seemingly daunting task can be accomplished with ease. Join me as I walk you through each step, ensuring a seamless transformation from a single light fixture to stylish downlighters.

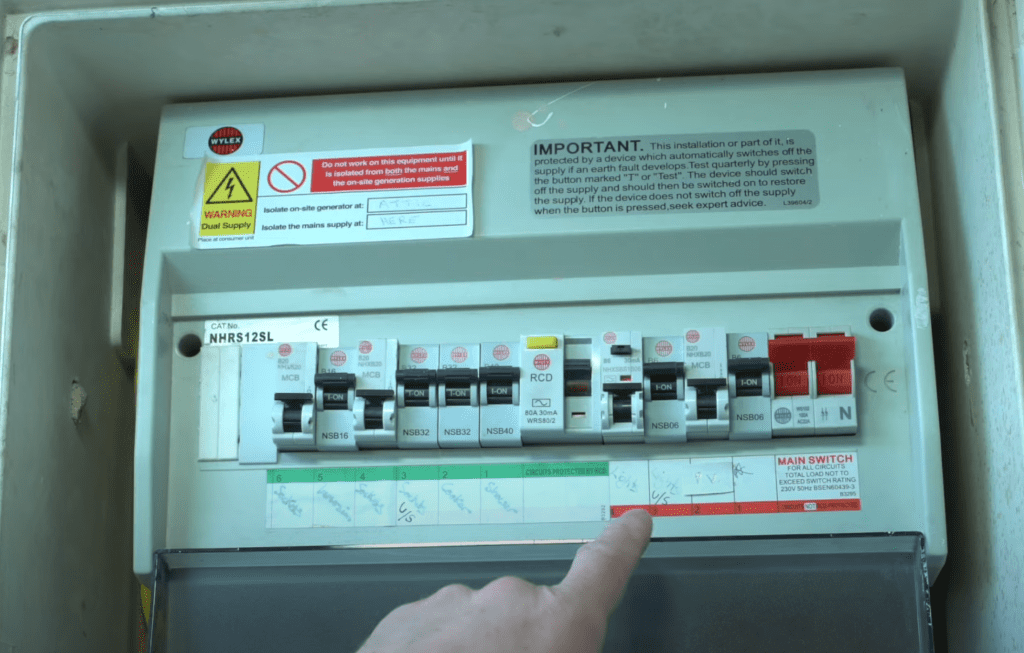
Tip One: Isolate the Power Before diving into the installation process, safety should always be the top priority. Begin by isolating the power to the existing light fixture. Double-check that the electricity is switched off by testing the light switch, then turn off the circuit at the breaker box. This precautionary measure eliminates the risk of electrocution and ensures a safe working environment.
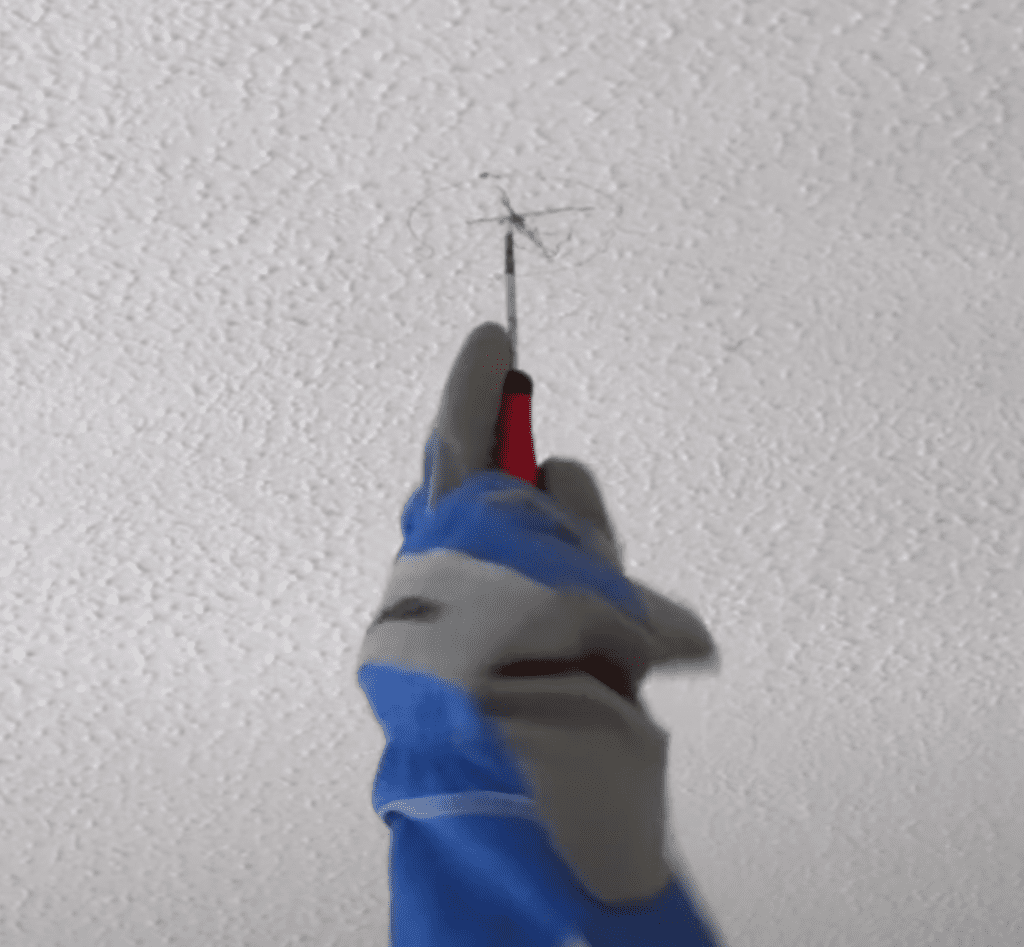
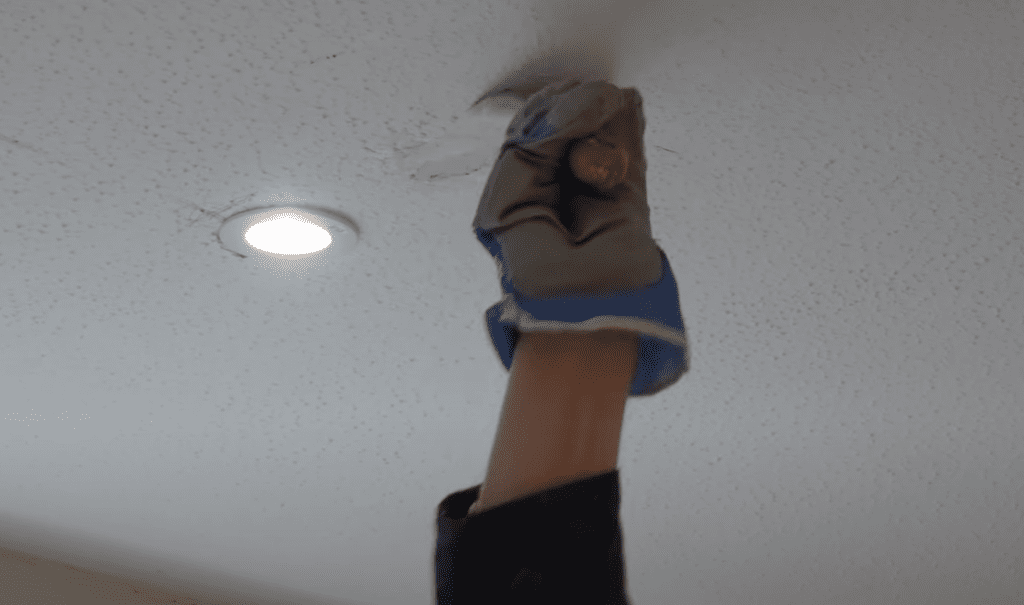
Tip Two: Check for Joists When installing downlighters, it’s essential to assess the ceiling structure to avoid drilling into joists accidentally. Use a bradawl or thin screwdriver to probe around the intended installation area, marking the spots where the downlighter holes will be cut. Carefully measure and adjust the positions as needed to ensure they align with the desired layout.
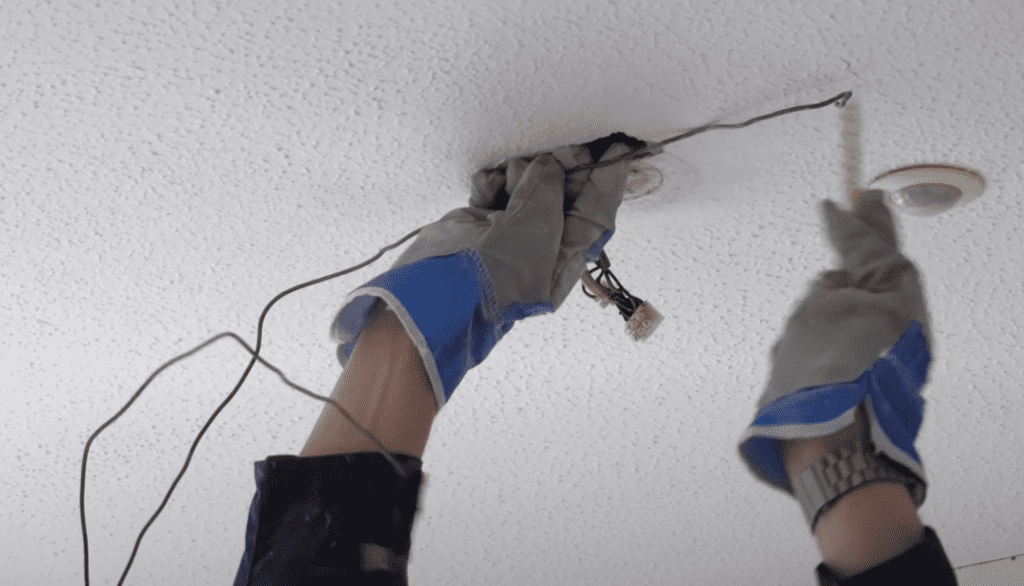
Tip Three: Utilize the Coat Hanger Hack For situations where access to the ceiling cavity is limited, such as when joists obstruct the path, employing the coat hanger hack can be a game-changer. By fashioning a hook from a coat hanger wire and guiding it through strategically drilled holes, you can navigate the wiring through the ceiling with precision and ease. This ingenious technique simplifies the process of running cables and minimizes the risk of damaging the ceiling structure.
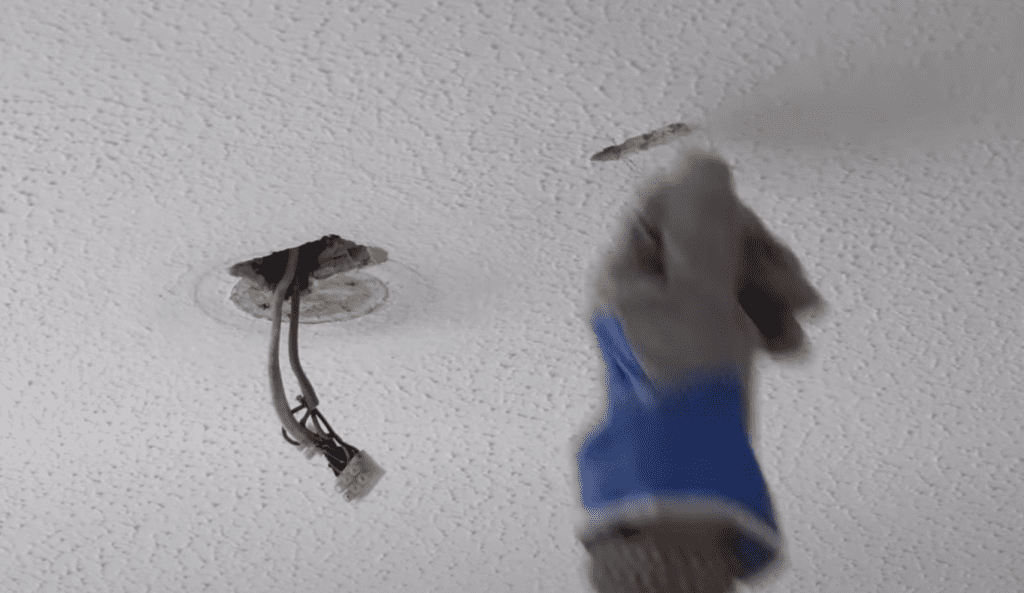
Tip Four: Connect and Install the Downlighters With the wiring in place, it’s time to connect the downlighters. Ensure that the cables are correctly identified and matched – live to live and neutral to neutral. Insert the cables into the downlighter fittings, securing them with the provided pressure pads. Once connected, carefully position the fittings into the prepared holes, ensuring a snug fit.
Tip Five: Conceal and Finish After securing the downlighters in place, conceal any exposed wiring and holes for a polished finish. Use plasterboard or filler to cover the gaps, smoothing them over with a scraper for a seamless appearance. Once dry, sand down any rough edges and apply a coat of paint to blend the repairs with the ceiling seamlessly.
Conclusion: In conclusion, installing downlighters doesn’t have to be daunting. By following these expert tips and techniques, you can tackle the project with confidence and precision. Remember to prioritize safety, double-check your measurements, and utilize clever hacks to overcome any obstacles along the way. With patience and attention to detail, you’ll soon illuminate your space with stylish downlighters that enhance both form and function.
Stay Connected: If you found this tutorial helpful, be sure to give it a thumbs up and subscribe for more insightful content. For those embarking on their downlighter installation journey, I wish you the best of luck and happy DIY-ing! Until next time, take care and keep shining bright!
