

What I’m trying to achieve
In this series of posts I’m taking IKEA’s modular PAX wardrobe system and trying to use it to make a fitted wardrobe in our bedroom. So in my previous post I built one 75cm white carcass. I attached it to the wall and I removed the back. Since then I built a second carcass.
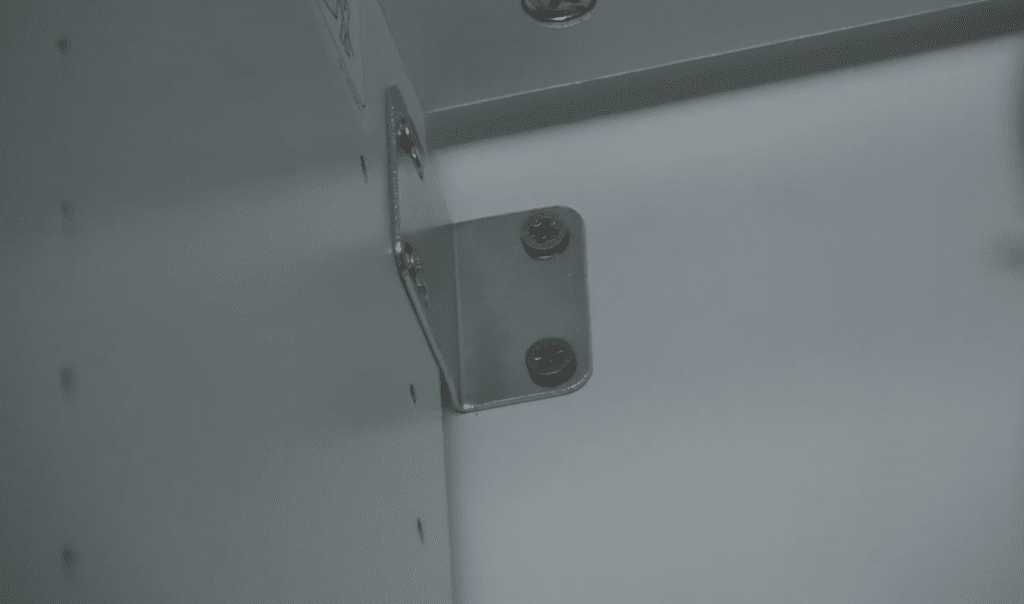
One change I made from the previous post is I’ve have used different brackets, to attach the unit to the wall. This gave me a lot more control in terms of the distance from the wall.
What I’m doing this time
So in my latest video I build two more hundred centimetre wide carcasses. Because they need to fit in the room, I actually need to cut them down. The distance between this carcass and the wall, both sides is actually only 90 centimetres but the units are 100.
Rather than building the carcasses, like I did before, I’ve decided to build them as I fit them. Once the side panel was fitted, I carefully measured the distance between the wall and the side panel at the top and at the bottom front and back carefully and then cut those two sides to fit.
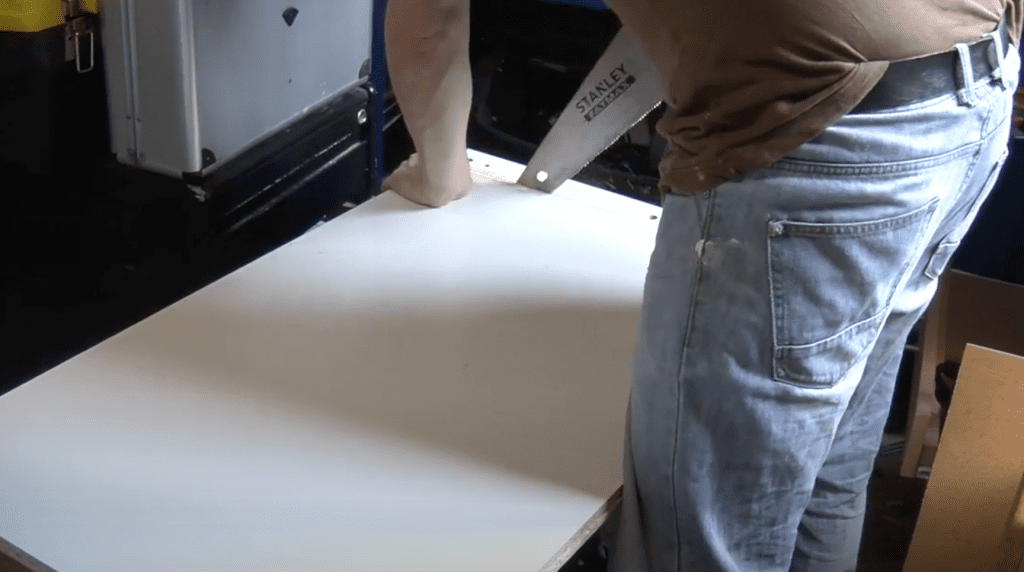
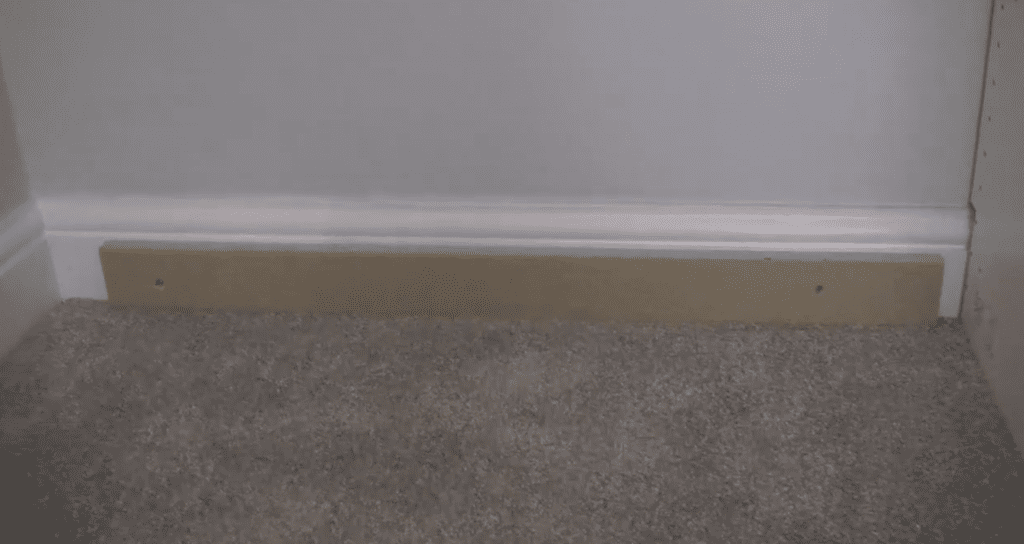
After doing one, I learnt a couple of things. It makes a lot of sense for this supporting piece of wood, to be screwed directly onto the skirting board rather than attached to the unit.
I also hadn’t realised quite how fragile the carcass was without it’s final panel, so on the second unit I enlisted some additional help to ensure it didn’t get damaged when fitting.
Cutting inserts to size
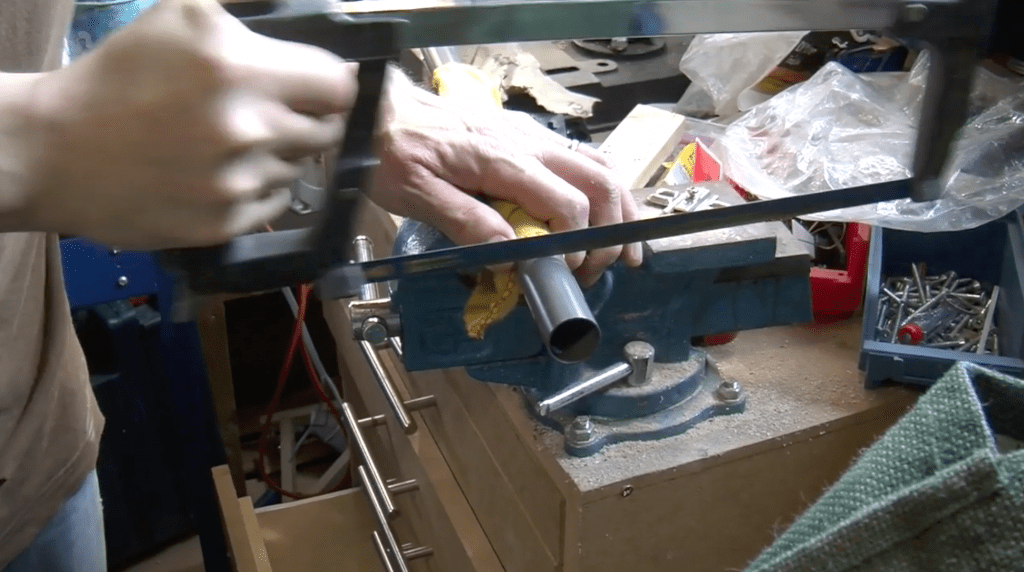
So cutting the shelves to length was pretty straight forward. I then needed to cut the hanging rods down to size.
So I added one plastic fitting and put the rod against the gap and marked the actual rod. I then took about 5mm off and cut.
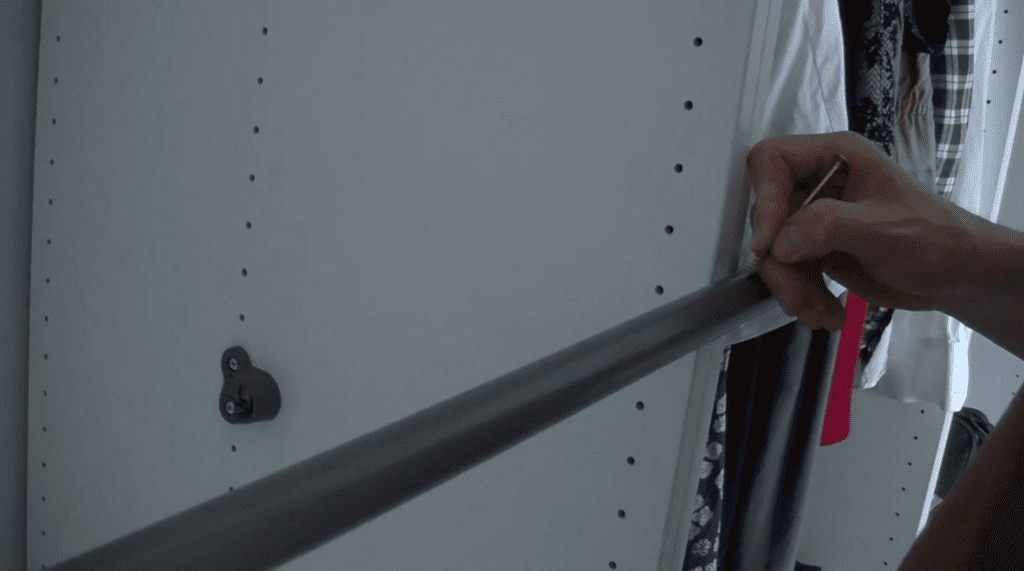
When fitting I used the the original plastic fittings and ensured they were level with a spirit level. When fitting the rod fittings to the wall I used cavity fixings rather than the screws supplied.
Learnings
So when fitting the hanging rods, one of them was a little tight and I ended up damaging the wall. The plastic fittings have a little bit of tolerance so I think if anyone else does this don’t try to force the rod in. However the big one was that the chip board supporting a piece of wood needs to be screwed to the skirting rather than trying to put it into the actual base, as you would normally do if you were building the unit as a whole.
In the next episode I’ll be adding the doors.