
Welcome to part three of our Ikea PAX wardrobe hack. Since my last post, we have indeed fitted the doors and I will go through all the details.
The plan
What we’ve been doing is we’ve been taking Ikea PAX wardrobe system, which is a free-standing wardrobe system and adapting it so that it can be a fitted wardrobe system. In the first videos I showed you how I took the carcasses and actually modified those and screwed those to the wall.
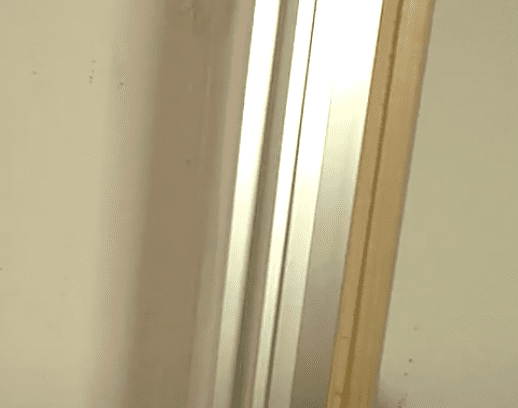
Since the last video we have now fitted the doors, we’ve also fitted end panels. The doors work as you’d expect with a PAX wardrobe system, the soft, closer mechanism is working perfectly. And actually we’re extremely pleased with it.
I haven’t painted everything yet, partly because I wanted to show you exactly how we did it. So the key this is the piece of wood attached to the ceiling. We had to find the roof joist, so that we screwed into those. This is important as it needs to hold a lot of weight.
The top rails
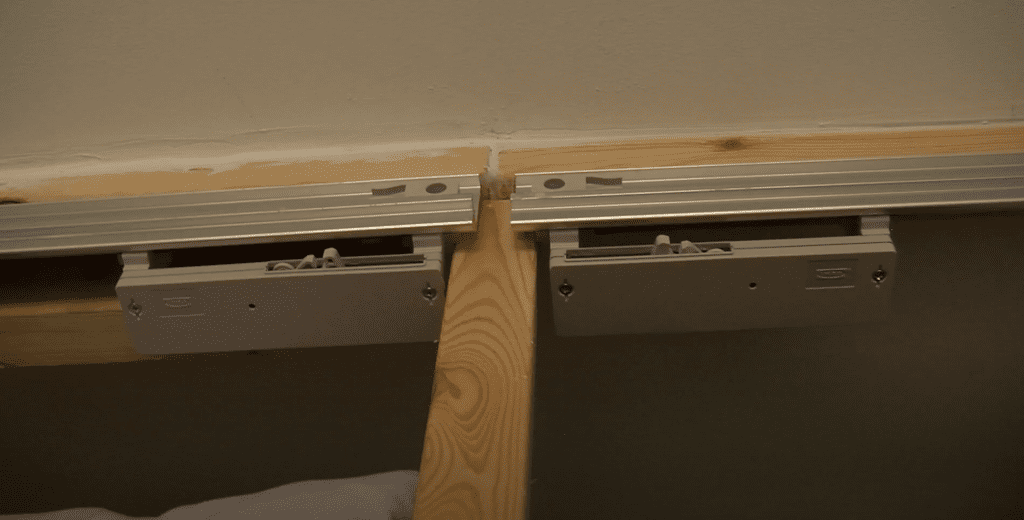
We then we fit the top rail to that piece of wood. Now there’s a couple of challenges with that. First challenge is that it needs to be level. Now our ceiling is not level. I discovered actually that there is a bit of a bulge in our ceiling, which I had no idea was there until I started doing this.
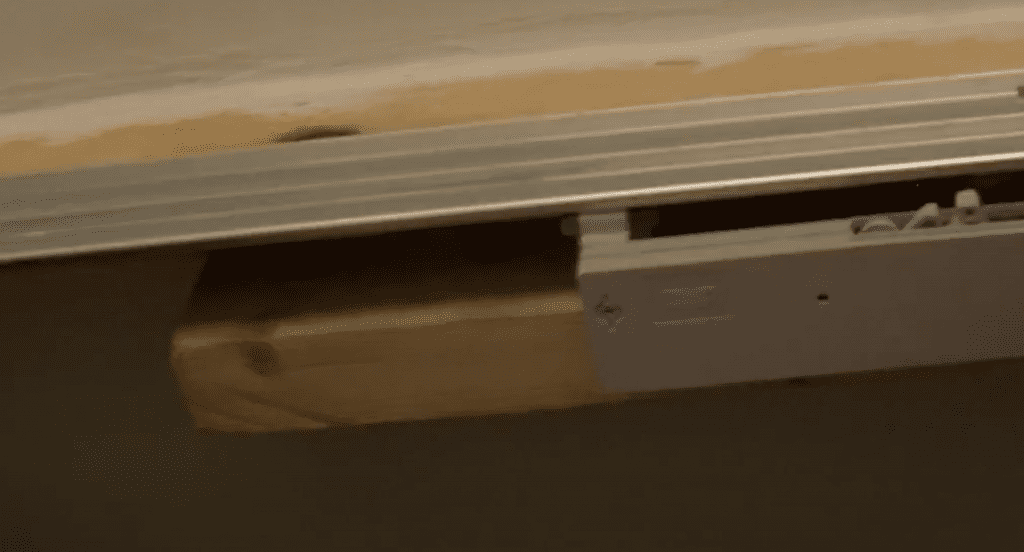
To get round that I actually packed out the piece of timber slightly with wood, so that it sat against the ceiling. The other challenge is the bottom. We have the rail that you’d normally fit to the pack system, but the distance between that and this rail attached the ceiling has to be correct for the doors to sit and hold properly.
That meant a little bit of experimentation and actually shaving a bit of wood off the piece of timber, so that we’ve got the correct distance.
The third challenge is that this rail has a lip of the top. And that’s because it’s supposed to sit underneath and there’s a plastic bracket that uses that lip to secure it now, because we want this to sit, flush with a piece of wood.
I needed to cut a channel in the wood, using a router so that this rail actually sits flush. I also screwed into it from underneath and that’s how we fitted it. So it’s a completely different way of securing it, but it absolutely works.
I also used a piece of packing material to ensure the soft close mechanism doesn’t move back too far.
Side Panels
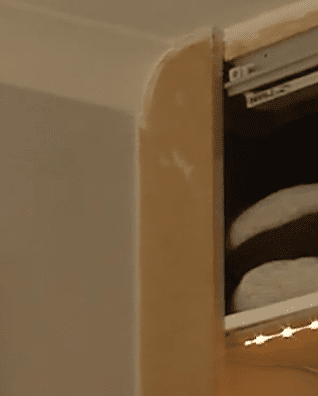
The other thing we have added is the side panels. These are made out of MDF and they were cut to shape. I used a piece of coving that I had leftover as a template for that. And we’ve used corner brackets to fix them. That makes it a lot easier because there’s a lot more flexibility in the positioning.
Finishing Touches
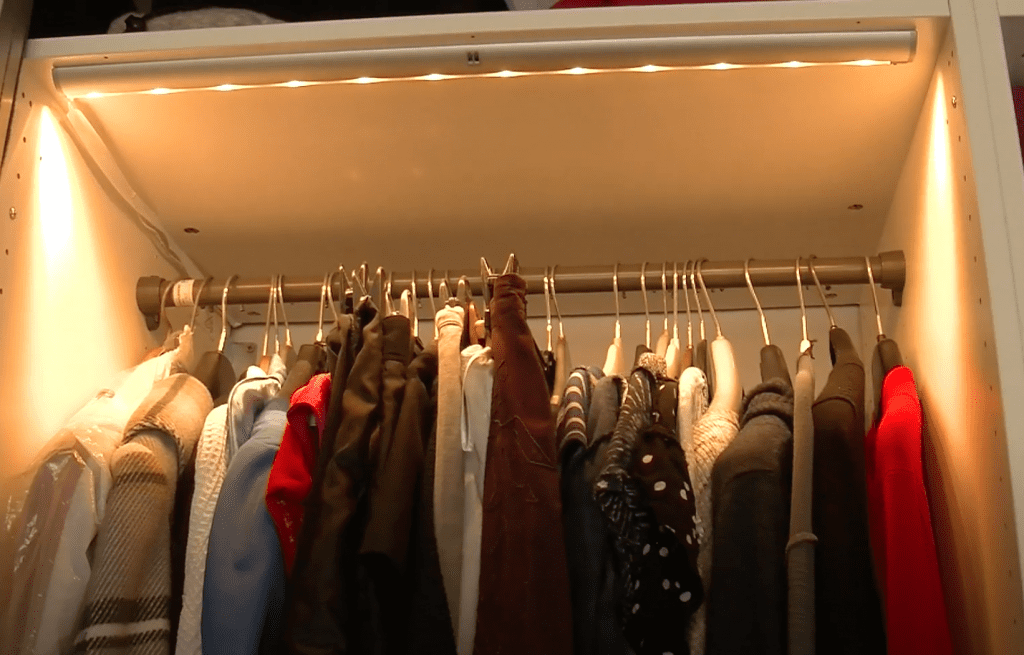
To finish it off we added some nice Ikea lights, which detect when the door is closed and turn off automatically.
I’ve also filled in the holes in the cabinets I didn’t use with some plastic covers I bought from Amazon.