
Hello and welcome to another Artful Budget video! In today’s video, I am going to be building an Ikea Malm Double Bed in a tiny room. If you’re not already aware of it, the Ikea Malm is a great value, good quality product that they do. In this video, I will be building it across the back of the room and I can’t wait to get started.
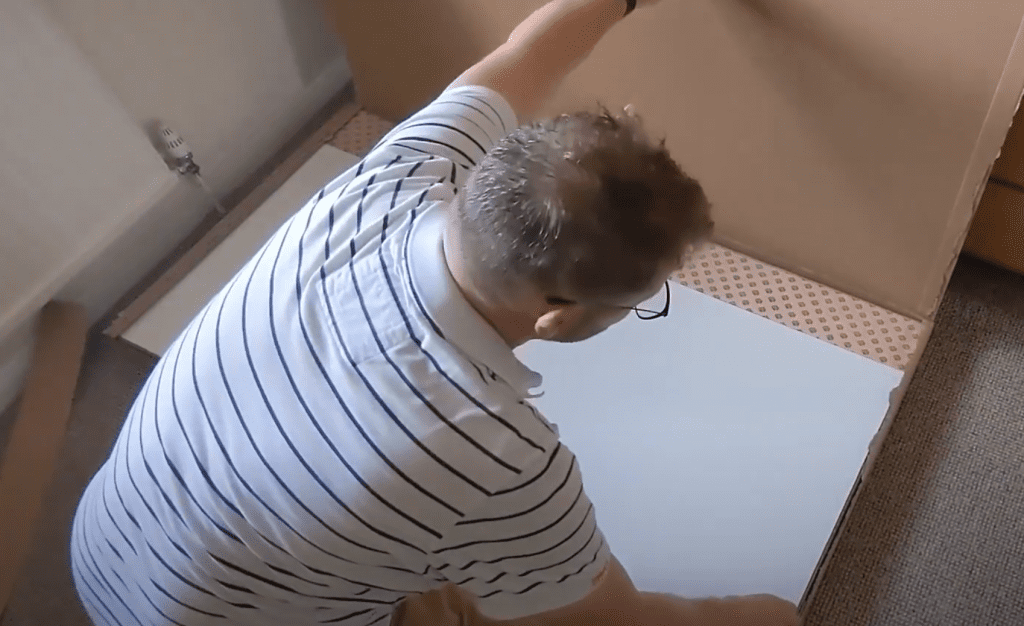
Unpacking the Boxes
The bed comes in three boxes – Box 1, Box 2 and Box 3 – and also comes with a piece of metal. Box 1 has the bed head and the base of the bed, a bit of wood underneath the bed head, and all the small parts. Box 2 has the sides of the bed and the rails, while Box 3 has the slats, which I won’t need just yet.
Laying Out the Small Parts
Before I start building, I like to lay out all the small parts so I can check I have enough of each thing and check them against the instructions. All the parts are here, so let’s get started.
Putting Together the Frame
The first job is to use the feet, which are part 1 2 2 6 2 8, and I hammer them onto the front and the rear of the bed. Next, I use parts 1 2 3 4 9 1 and insert them into the front or rear of the bed, 18 total, and use the spanner to tighten them. Now it’s time to put some dowels in. These dowels are 101 359s, and I hammer them in. Then, I use parts 1 1 4 6 7 0, making sure the arrow is aligned correctly, and use the supplied Allen key to tighten them up. And, voila, we have a full frame!
Continuing with the Assembly
Next, I put more dowels, part 101367, using my pliers, and then screw in parts 1 1 4 3 3 4 using the provided spanner. Then, I slot the bed head over the top and push it down. To fill the cut-out, I use part 1 2 2 9 9 8 and the nut 1 1 4 2 5 4, and tighten it with a spanner.
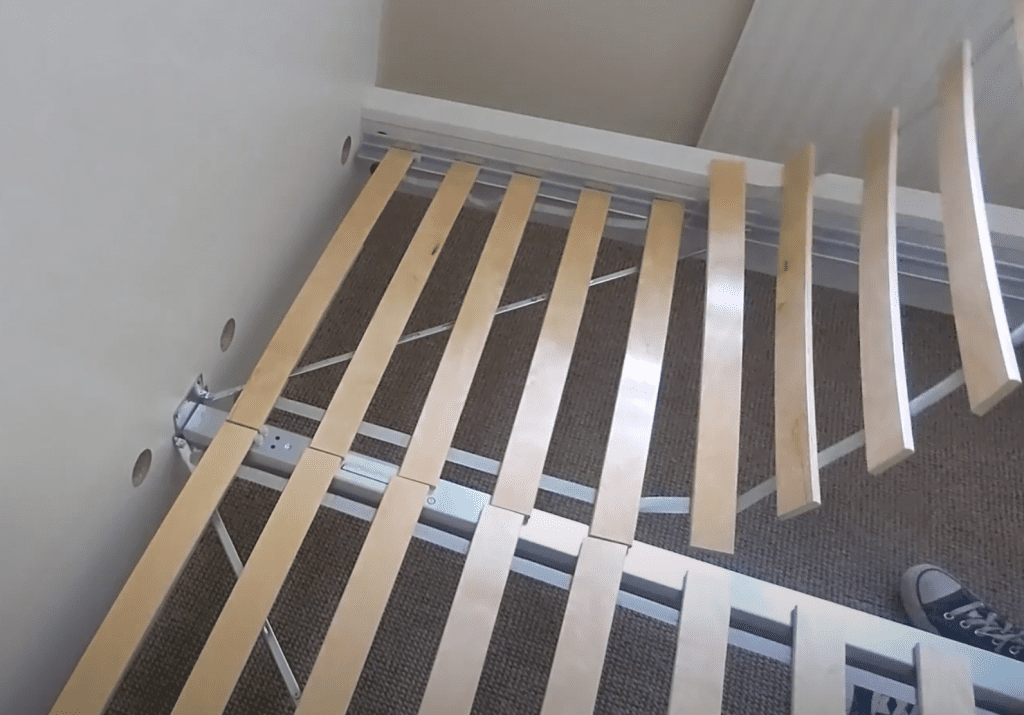
Attaching the Rails and Slats
Depending on the size of the mattress, I do something slightly different here. If I have a thin mattress, I use the higher holes, and if I have a thick mattress, I use the lower holes to attach the bed rails. I use bolts to attach the rails, and I’m using my power driver, making sure I have the clutch set. Then, I fit the reinforcement strips and the middle bar, which is extendable to fit the depth of the bed, and it just rests on the brackets. Finally, I get to open the third box, which has the slats in it. These are held on the frame in place by rubber stops and I screw them to the frame using bolt 105 163.
A Small Hiccup
Full disclosure, for the first time ever, I actually found something missing from this kit – two reinforcing bars that go at the rear of the bed. I have actually ordered them since and received them for free, but it would have been best if they had been in the first place.
Final Thoughts
There you go, not too tricky at all, apart from the two bits that seemed to be missing from the package. If you want to see the mattress we’re going to put on top of the bed, be sure to watch the next video here on the Vaso mattress. It’s well worth watching just to see it expand!